There’s a lot of fanfare for text editors like Visual Studio Code and Atom for general development these days while those that utilize Vim, Neovim, and Emacs seem to be forgotten.
Thankfully, and I can’t believe I’m saying this, Microsoft has created a new standard for making language plugins for IDEs and text editors. The Language Server Protocol standard has made it simple to create cross-platform and cross-editor language plugins, as long as the IDE or editor knows how to handle the Language Server.
Vim/Neovim have plugins that enable Language Server support. Specifically, ale, LanguageClient-neovim, and coc.vim. I personally find that coc.vim is the easiest to set up my Puppet dev environment.
Setup
While setting up Language Server support in Vim and Neovim are fairly easy, there are some dependencies that will need to be installed first. First step will be to install nodejs and yarn. coc.vim uses these to execute it’s language server client calls (among other things). I would recommend using your package manager (Linux), Homebrew, or a Version Manager like asdf to manage node-js installations, but if you want a simple install:
$ curl -sL install-node.now.sh/lts | sh
$ curl --compressed -o- -L https://yarnpkg.com/install.sh | bash
Next you need to install the plugins you will need for Puppet Development. Use your favorite plugin manager or manually manage them if you know how, but I personally use Vim-Plug.
Note to Vim users: coc.vim requires vim >= 8.1 and you’ll need to install vim-node-rpc through NPM**
call plug#begin('~/.config/nvim/plugged')

Plug 'editorconfig/editorconfig-vim' " For filetype management.
Plug 'elzr/vim-json' " For metadata.json
Plug 'junegunn/fzf', { 'dir': '~/.fzf', 'do': './install --all' } " Install fuzzy finder. Use whatever you prefer for file browsing
Plug 'junegunn/fzf.vim' " Fuzzy Finder vim plugin
Plug 'mrk21/yaml-vim' " For hieradata
Plug 'neoclide/coc.nvim', {'do': { -> coc#util#install()}} " Language Server support
Plug 'rodjek/vim-puppet' " For Puppet syntax highlighting
Plug 'vim-ruby/vim-ruby' " For Facts, Ruby functions, and custom providers

call plug#end()

command! -bang -nargs=* Rg call fzf#vim#grep('rg --column --line-number --no-heading --fixed-strings --ignore-case --no-ignore --hidden --follow --glob "!.git/*" --color "always" '.shellescape(<q-args>), 1, <bang>0) " FZF settings
noremap <Leader>/ :FZF<CR> " Set FZF to <LEADER>/, which for me is `,/`
Note: The above configuration assumes you use Vim-Plug to manage plugins. If you don’t, you’ll need to run coc#util#install() from Vim NORMAL mode
Once your .vimrc or init.vim are set up, open vim/neovim and execute PlugInstall from command mode. This will install the plugins and run any additional tasks they require.
Installing the Language Servers
Ruby Solargraph (Optional)
This is not required for Puppet Development, but can be useful if debugging Core Puppet or Modules that utilize Ruby code. This is actually quite simple to install (assuming you have Ruby installed and setup already).
First you need to install the solargraph gem:
$ gem install solargraph
Then enter into vim/neovim and execute CocInstall coc-solargraph from command mode. This will install and configure everything needed for Ruby Language Server support.
Puppet Language Server support.
For Puppet language server support, we have to do a extra work.
First we need to download the language server from the Github page. Place this wherever you feel most comfortable, but you will need ruby installed to run the language server.
$ git clone https://github.com/lingua-pupuli/puppet-editor-services.git
$ cd puppet-editor-services
$ bundle install
Once that is complete, you will need open the coc.vim configuration file:
$ vim +CocConfig
and add the following configuration to the file:
{
  "languageserver": {
    "puppet": {
      "command": "ruby",
      "args": ["/path/to/puppet-editor-services/puppet-languageserver","--stdio","--puppet-settings=--moduledir,/path/to/module/path"],
      "cwd": "/path/to/puppet-editor-services",
      "filetypes": ["puppet"],
      "rootPatterns": [".git/", "metadata.json"]
    }
  }
}
To ensure that warning and error messages show in the status line, be sure to add set statusline+=%{coc#status()} to your .vimrc or init.vim
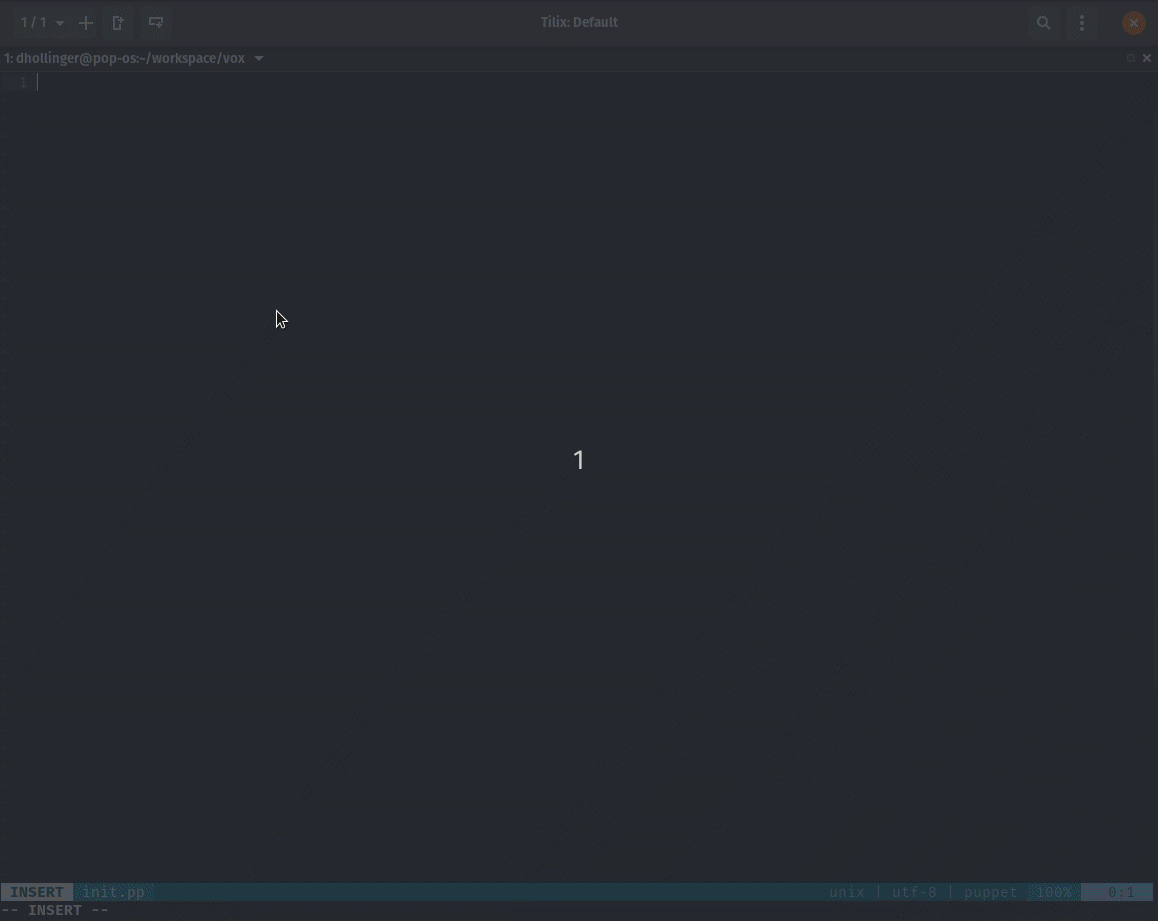
Now simply open a Puppet manifest and you should start seeing results. Example:
That’s all there is to it. There is a lot more tweaking you can do to your hearts content.
Resources: